
Reviewed · PHOTOGRAPHY SESSIONS
Hong Kong Photography Masterclass – Private Photography Lesson
This experience is interesting because it pairs a professional photographer with a walk through Hong Kong’s biggest visual playground, from street markets to the view from Victoria Peak after dark. You get a practical lesson, not just a sightseeing route, with training aimed at night shooting like long exposure, light trails, light painting, and higher ISO.
What I like most is the way the lesson follows real Hong Kong scenes, so your camera skills get tested on the same streets that make the city famous. I also like the flexible feel shown in the guide experience, including Bharat running the route without forcing a rigid, rushed schedule.
One thing to consider is that nighttime photography takes gear and patience. If you do not bring a tripod (and the tour notes one can be rented), it will be harder to get the long-exposure results the lesson is teaching.
Key highlights worth your attention
- Private lesson format with a professional photographer guide guiding your specific shots
- Night-focus training on long exposure, light trails, light painting, and high ISO shooting
- Real city stops including Tsim Sha Tsui, Nathan Road, Temple Street Night Market, and Victoria Peak
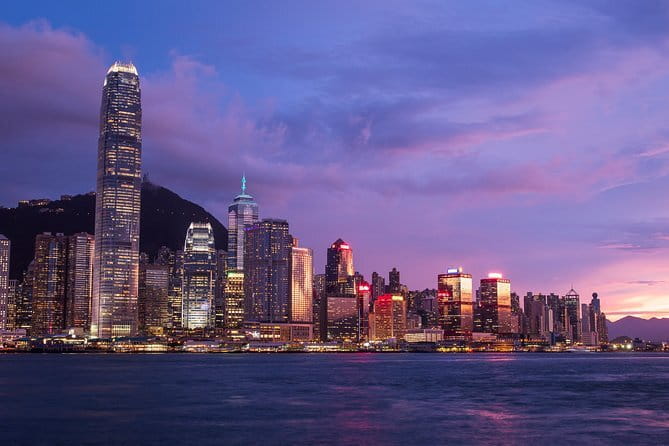
- Harbor and skyline viewpoints that make tripod shots and bright neon effects easier to practice
- Guide flexibility noted by past guests, with a pressure-free pace to find the right compositions
- Tripod rental option, since night photography is gear-dependent
A 3-hour Hong Kong night photo lesson, planned for results
Hong Kong at night is a lighting workshop. Neon signs, reflected light, moving people, and bright city lines give you endless chances to practice the techniques that usually live in camera manuals. This is not a lecture in a classroom. It is a guided walk with coaching, so you can try ideas immediately and adjust on the fly.
The private setup matters. You can ask questions when something does not make sense, and the photographer can steer you toward what will work best for the shots you want. You are also not stuck in a big group shuffle, which is a big deal when the light changes fast.
The duration is about 3 hours, which is long enough to learn and test a few approaches, but short enough that you do not feel trapped for the whole night. At this price point, the value comes from the photography teaching component plus a local guide and professional photographer working with you, not just from walking around for sightseeing.
More photo sessions in Hong Kong:
- Victoria Harbour Yacht Night Cruise – DREAMER:Tourguide & Photos
★ 4.0 · 58 reviews - Photography Workshop and Photowalk (FIND YOUR DIRECTION)
★ 5.0 · 19 reviews - Beijing: Must-Try Chinese Ancient Costume Rental& Photoshoot
★ 4.9 · 26 reviews
Where you start: Tsim Sha Tsui and a tripod in your future
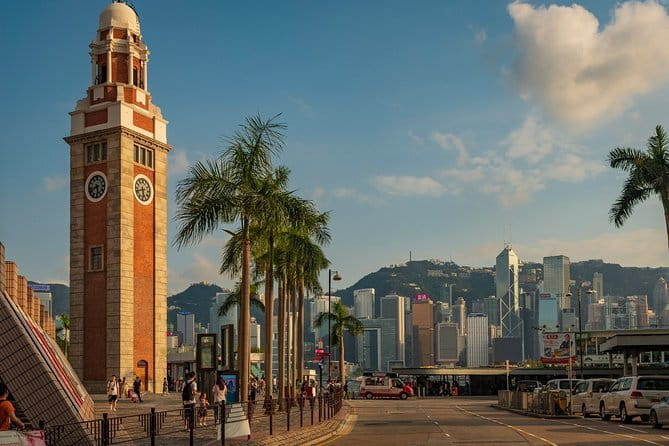
You begin at the Former Kowloon-Canton Railway Clock Tower in Tsim Sha Tsui, at 10 Salisbury Rd. This is a smart starting location because it puts you close to major waterfront views and the dense street energy that makes Hong Kong photography so interesting.
Plan to show up ready to shoot right away. If you have a tripod, bring it. If you do not, the tour notes you can rent one, which is crucial for the long-exposure portion. Long exposure needs stability, and without that, your images can blur even when you do everything else correctly.
If you only have a handheld setup, you can still learn a lot about composition and camera settings. Just understand the lesson is aiming at specific night effects, including light trails and light painting, which typically benefit a lot from tripod use.
Tsim Sha Tsui Promenade: learning framing with real skyline light
Your second stop is the Tsim Sha Tsui Promenade, a place designed for wide views. This is where you start seeing how Hong Kong’s geometry becomes a photo subject: building edges, repeating lines, and glowing signage that sits in the frame like visual scaffolding.
I like using a promenade for night photography practice because the direction of light is more predictable than inside narrow streets. You can focus on what your camera sees, not just on dodging crowds. The photographer can also guide you on how to meter light and handle high-contrast scenes, which is one of the hardest parts of nighttime city photography.
What to watch for here is composition. Instead of just pointing at the skyline, try building a foreground interest too. The promenade setting naturally gives you layers, and those layers are what separate a snapshot from a stronger night image.
Nathan Road: street practice for neon, motion, and people
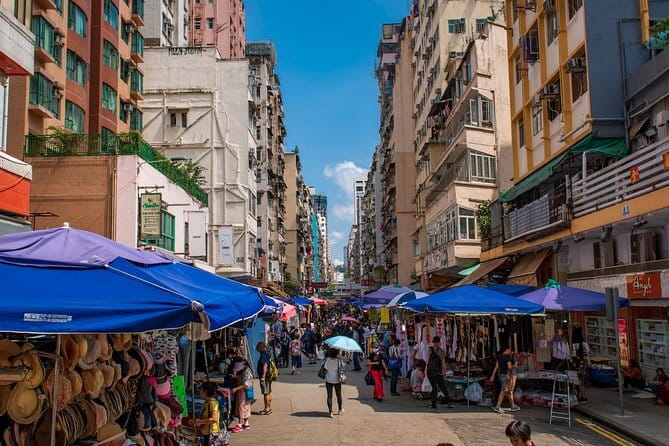
Next you head to Nathan Road, one of the most recognizable street corridors in Kowloon. This is the zone where your camera skills meet the reality of street movement: bright signs, changing light, and constantly shifting subjects.
This stop is valuable for learning how to handle motion. If you are chasing neon glow, you need to decide whether you want motion blur from moving subjects or sharper lines with a shorter exposure. The professional photographer can help you test and choose settings in context, which is way more effective than guessing later.
A practical drawback: Nathan Road can mean more foot traffic and louder visual chaos. If you hate crowds, you might need a little patience to get the clean frames you want. The upside is that you get a crash course in managing busy scenes without losing control of your camera.
A different sort of day out of Hong Kong:
- Hong Kong: Dolphin Cruise, Big Buddha & Lantau Island Tour
★ 4.2 · 1,512 reviews - Ngong Ping 360: Cable Car Return Tickets & Combos
★ 4.6 · 1,431 reviews - Lantau Island Day Trip – Big Buddha & Tai O
★ 4.5 · 1,328 reviews - Big Bus Hong Kong Open Top Hop-On Hop-Off Sightseeing Tour
★ 4.0 · 1,077 reviews
Temple Street Night Market: details, exposure, and controlled creativity
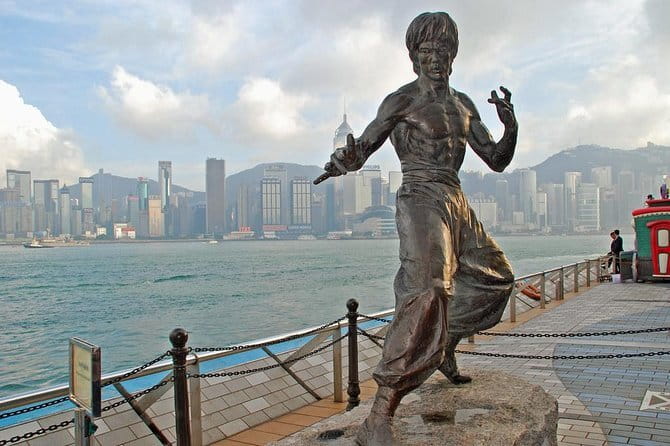
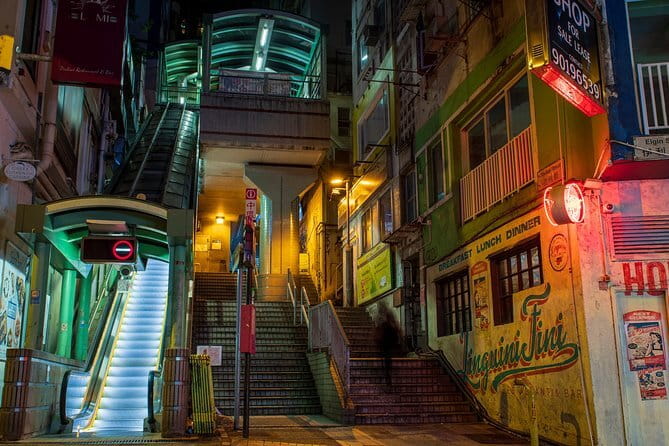
After Nathan Road, you move into Temple Street Night Market. Markets are where night photography becomes more than architecture. You get textured surfaces, small objects, signage, and people doing real things, which makes your images feel like Hong Kong rather than generic city lights.
This stop is especially useful for learning detail work. The tour description highlights focusing on details, markets, and even trams as subjects you can shoot. In a night market setting, you can practice close-ish framing and how to keep the subject readable against bright background distractions.
Here’s the consideration I’d plan for: night markets can be visually loud. Your camera might try to average everything, leaving your subject flat. The photographer’s coaching helps you pick a direction, like prioritizing highlights, keeping faces usable, or turning the lights into streaks by changing exposure time.
Crossing to Hong Kong Island: shifting light, new angles
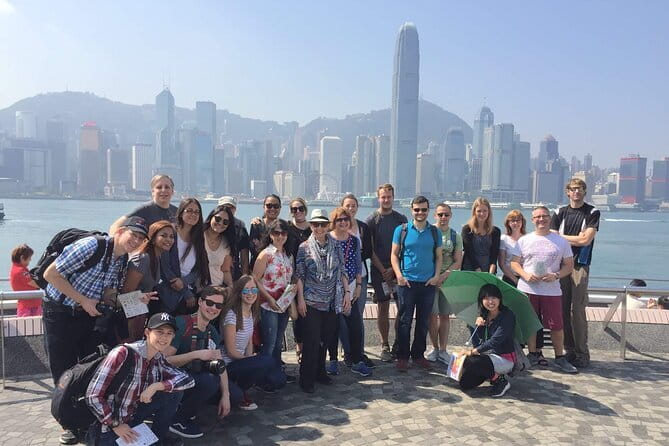
Then it is time to head to Hong Kong Island. The big win from switching sides is angle. Even if the subject feels similar, the skyline relationships change, and so does the way light falls on buildings and water.
This is also where you tend to learn that night photography is not only about camera settings. It is about position. Tiny movements, like stepping a bit left or right, can dramatically change reflections and how many bright elements land in your frame.
You get a chance to reset your approach before going deeper into viewpoint shooting later. If you feel like your earlier frames are too chaotic, this transition is a good moment to ask the photographer what to simplify next.
Graham Street Market: texture hunting and a calmer pace for better shots
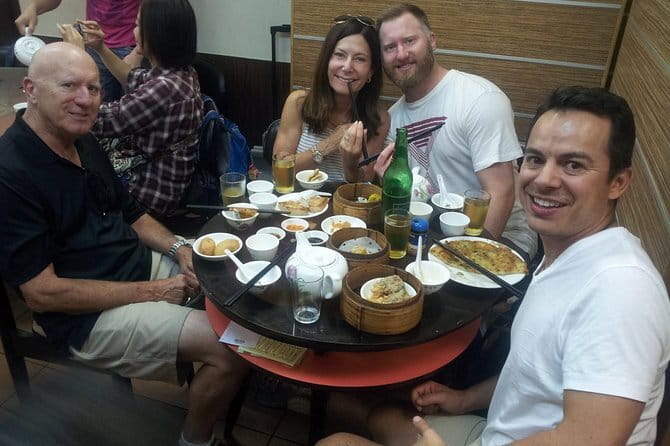
One of your stops on the island side is Graham Street Market. Markets like this tend to offer strong textures and a different mix of light than waterfront areas. They are also a nice bridge between street-level neon and the more tripod-friendly viewpoint work that comes later.
This part of the lesson is useful for learning to find patterns in small spaces. Instead of focusing only on big signs, you can frame storefronts, reflections, and repeating shapes. The goal is to keep your photography moving from general impressions to intentional images.
One note based on the guide experience you will likely care about: Bharat-style flexibility is a big plus here. If you want an extra minute to fix a framing choice, or you need to reposition for better light, a flexible approach helps you keep momentum instead of feeling hurried.
Hong Kong Skyline: setting up for long exposure and light trails
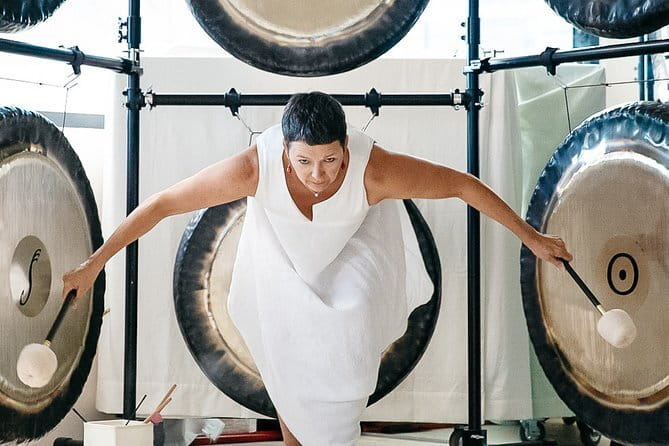
Next comes Hong Kong Skyline, which is where the lesson’s night techniques really matter. This is the time to think in terms of exposure choices, not just composition.
Long exposure is how you turn stationary city lights into clean glow and how you separate lighting layers. Light trails help you work with movement intentionally, instead of treating it like a problem. Light painting is about controlled illumination, which usually means planning where you can move and how the light will look in your frame.
The value here is that you are not doing this alone. A professional photographer guide can help you understand what changes when you adjust shutter speed or ISO. You can test quickly, compare results, and learn what settings fit the conditions you are standing in.
Peak and Victoria Peak: tripod time, skyline grids, and night patience
Your final stretches focus on the Peak and Victoria Peak (The Peak). These viewpoint areas are where you see Hong Kong as a pattern of light, roads, and clustered building lines. If you want skyline shots that feel designed, this is the part that helps you get there.
This is also the most tripod-relevant segment of the experience. Even if you have never used your tripod before, the photographer can guide you on stability, framing, and how to avoid vibration when you press the shutter. You will also learn how to manage brightness, since viewpoints often have strong highlights.
Practical consideration: viewpoint shooting at night can mean cold air and wind, depending on conditions. You will feel it more with a tripod in place. Dress for comfort so you can stay longer in the exact spot needed for the best frame.
If you enjoy photography as an activity, this ending is a satisfying payoff. You go from streets full of energy to a higher vantage that turns that energy into a coherent night image.
Price and value: when $170 makes sense for you
At $170 per person for about 3 hours, you are paying for two things: time with a professional photographer and a guided route that is built around night shooting practice. The tour also includes a local guide and a mobile ticket, and it notes group discounts are available.
Here is how I’d judge value honestly. If you are a total beginner, a guided night session can save you hours of trial and error. You also get a plan that targets specific techniques, not random sightseeing plus camera fiddling. If you are more advanced, it can still be worth it because someone on-site can help you interpret what your camera is doing in Hong Kong’s lighting conditions.
The potential mismatch is if you simply want scenic photos without learning. In that case, $170 might feel steep compared to self-guided routes. But if your goal is to walk away with improved technique and stronger nighttime frames, the price is easier to justify.
What the included guides actually do for your photos
You get both a local guide and a professional photographer guide. That pairing matters because you need local context for where to shoot and you need technical help for how to shoot.
The local guide helps the tour flow through different areas in a way that stays practical at night, including market zones and viewpoint areas. The photographer helps you translate what you see into what your camera can capture, especially with long exposure and light trail style effects.
From the feedback you can take seriously, Bharat’s style includes flexibility. That translates to a practical advantage for you: you can adjust on the spot rather than feeling forced into a fixed shot list.
Who should book this private lesson
This is a great fit if you:
- Want a private, coach-led night photography session in Hong Kong
- Have some camera basics and want better results in neon-heavy lighting
- Want to practice long exposure, light trails, light painting, or high ISO shooting with real guidance
- Prefer a night walk route that includes markets and major viewpoints
It might be less ideal if you:
- Hate tripods or you refuse to carry one, even for a short time
- Want zero teaching and only want photos, with no camera settings involved
- Are very sensitive to crowds, since street areas and markets can be active
Helpful tips so you get more from the lesson
Bring a tripod if you have one. The tour specifically suggests one, and it is available to rent if you do not own one. If you rent, treat that as part of your planning, not an afterthought.
Wear shoes that can handle uneven pavement and lots of walking. Night photography slows you down, because you will likely stop, reframe, and test settings.
Bring a charged camera battery, plus an extra if you can. Night shooting with higher ISO and long exposures can drain power faster.
Finally, be ready to ask questions. This kind of lesson works best when you tell the photographer what you want, whether it is cleaner skyline shots, more dramatic light trails, or sharper details in market scenes.
Should you book Hong Kong Photography Masterclass?
If you want to improve your night photos and you like the idea of learning specific techniques while photographing Hong Kong’s most photogenic areas, I think this is a smart booking. The private format and professional photographer guidance are the core reasons to choose it, and the focus on long exposure style results makes the lesson feel targeted instead of generic.
If your main goal is quick sightseeing photos with no interest in tripod shooting, you might prefer a self-guided option. But if you want the benefit of having someone help you make your camera behave in neon lighting, this 3-hour masterclass route is built for that exact mission.
FAQ
How long is the Hong Kong Photography Masterclass?
The experience runs for about 3 hours.
Is this a private tour?
Yes. It is private, and only your group participates.
Where does the tour start and end?
It starts at the Former Kowloon-Canton Railway Clock Tower, 10 Salisbury Rd, Tsim Sha Tsui, Hong Kong. It ends back at the meeting point.
What camera gear is included?
No camera is included. The tour also notes the tripod is not included, but it is available to rent.
What stops will we visit?
You will visit areas including Tsim Sha Tsui Promenade, Nathan Road, Temple Street Night Market, Hong Kong Island, Graham Street Market, the Hong Kong Skyline area, and Victoria Peak (The Peak).
Is the lesson focused on nighttime photography?
Yes. The night portion teaches techniques including long exposure, light trails, light painting, and high ISO shooting.
What is the cancellation policy?
Cancellation is free up to 24 hours before the experience starts for a full refund.
Latest reviews from Hong Kong
- Hong Kong Layover Tour Private & Personalized with Local Guide★ 5.0 · 5 reviews
- Experience Hong Kong in 1 day: discover the best★ 5.0 · 5 reviews
- Small-Group Gong Relaxation Experience in Hong Kong★ 5.0 · 5 reviews
- Live Hong Kong Island: Private Tour★ 5.0 · 5 reviews
- Small-Group Tour: Temples & Markets Discovering [PROMOTION]★ 5.0 · 6 reviews
- Dialogue in the Dark Tour [Recommended!]★ 5.0 · 6 reviews
- Hong Kong Private Walking Tour with a Local★ 5.0 · 6 reviews
- Private Transfer: Hong Kong to Macau via Zhuhai Bridge★ 4.5 · 6 reviews
Photography Sessions, compared.
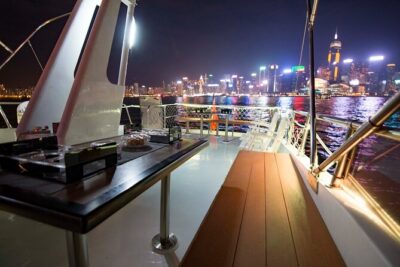
Victoria Harbour Yacht Night Cruise – DREAMER:Tourguide & Photos
Read our review →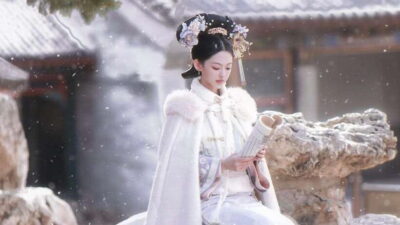
Must-Try Chinese Ancient Costume Rental& Photoshoot
Read our review →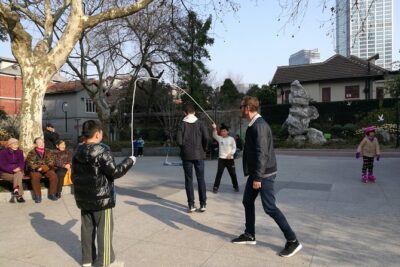
4-Hour Private Flexible Photography Tour of Best Shanghai Scenes
Read our review →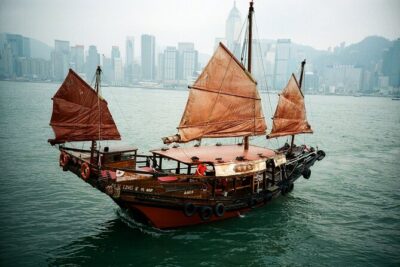
Photography Workshop and Photowalk (FIND YOUR DIRECTION)
Read our review →
Beijing Traditional Hanfu Experience & Photoshoot for Groups
Read our review →
3-Day “Secrets Of Zhangjiajie” Deep Photography Tour
Read our review →Browse the lists this tour appears in